Well, Well, Well.
I think I deserve a little bit of a scolding for the terrible (and unjustifiable) absence I’ve taken.
In order for a blog to be a blog there kinda sorta hasta be something for people to either read or look at, right?? Right.
So.
This isn’t a tutorial sort of post (as promised from my last post), BUT, there will be things to read and there will be pictures to look at.
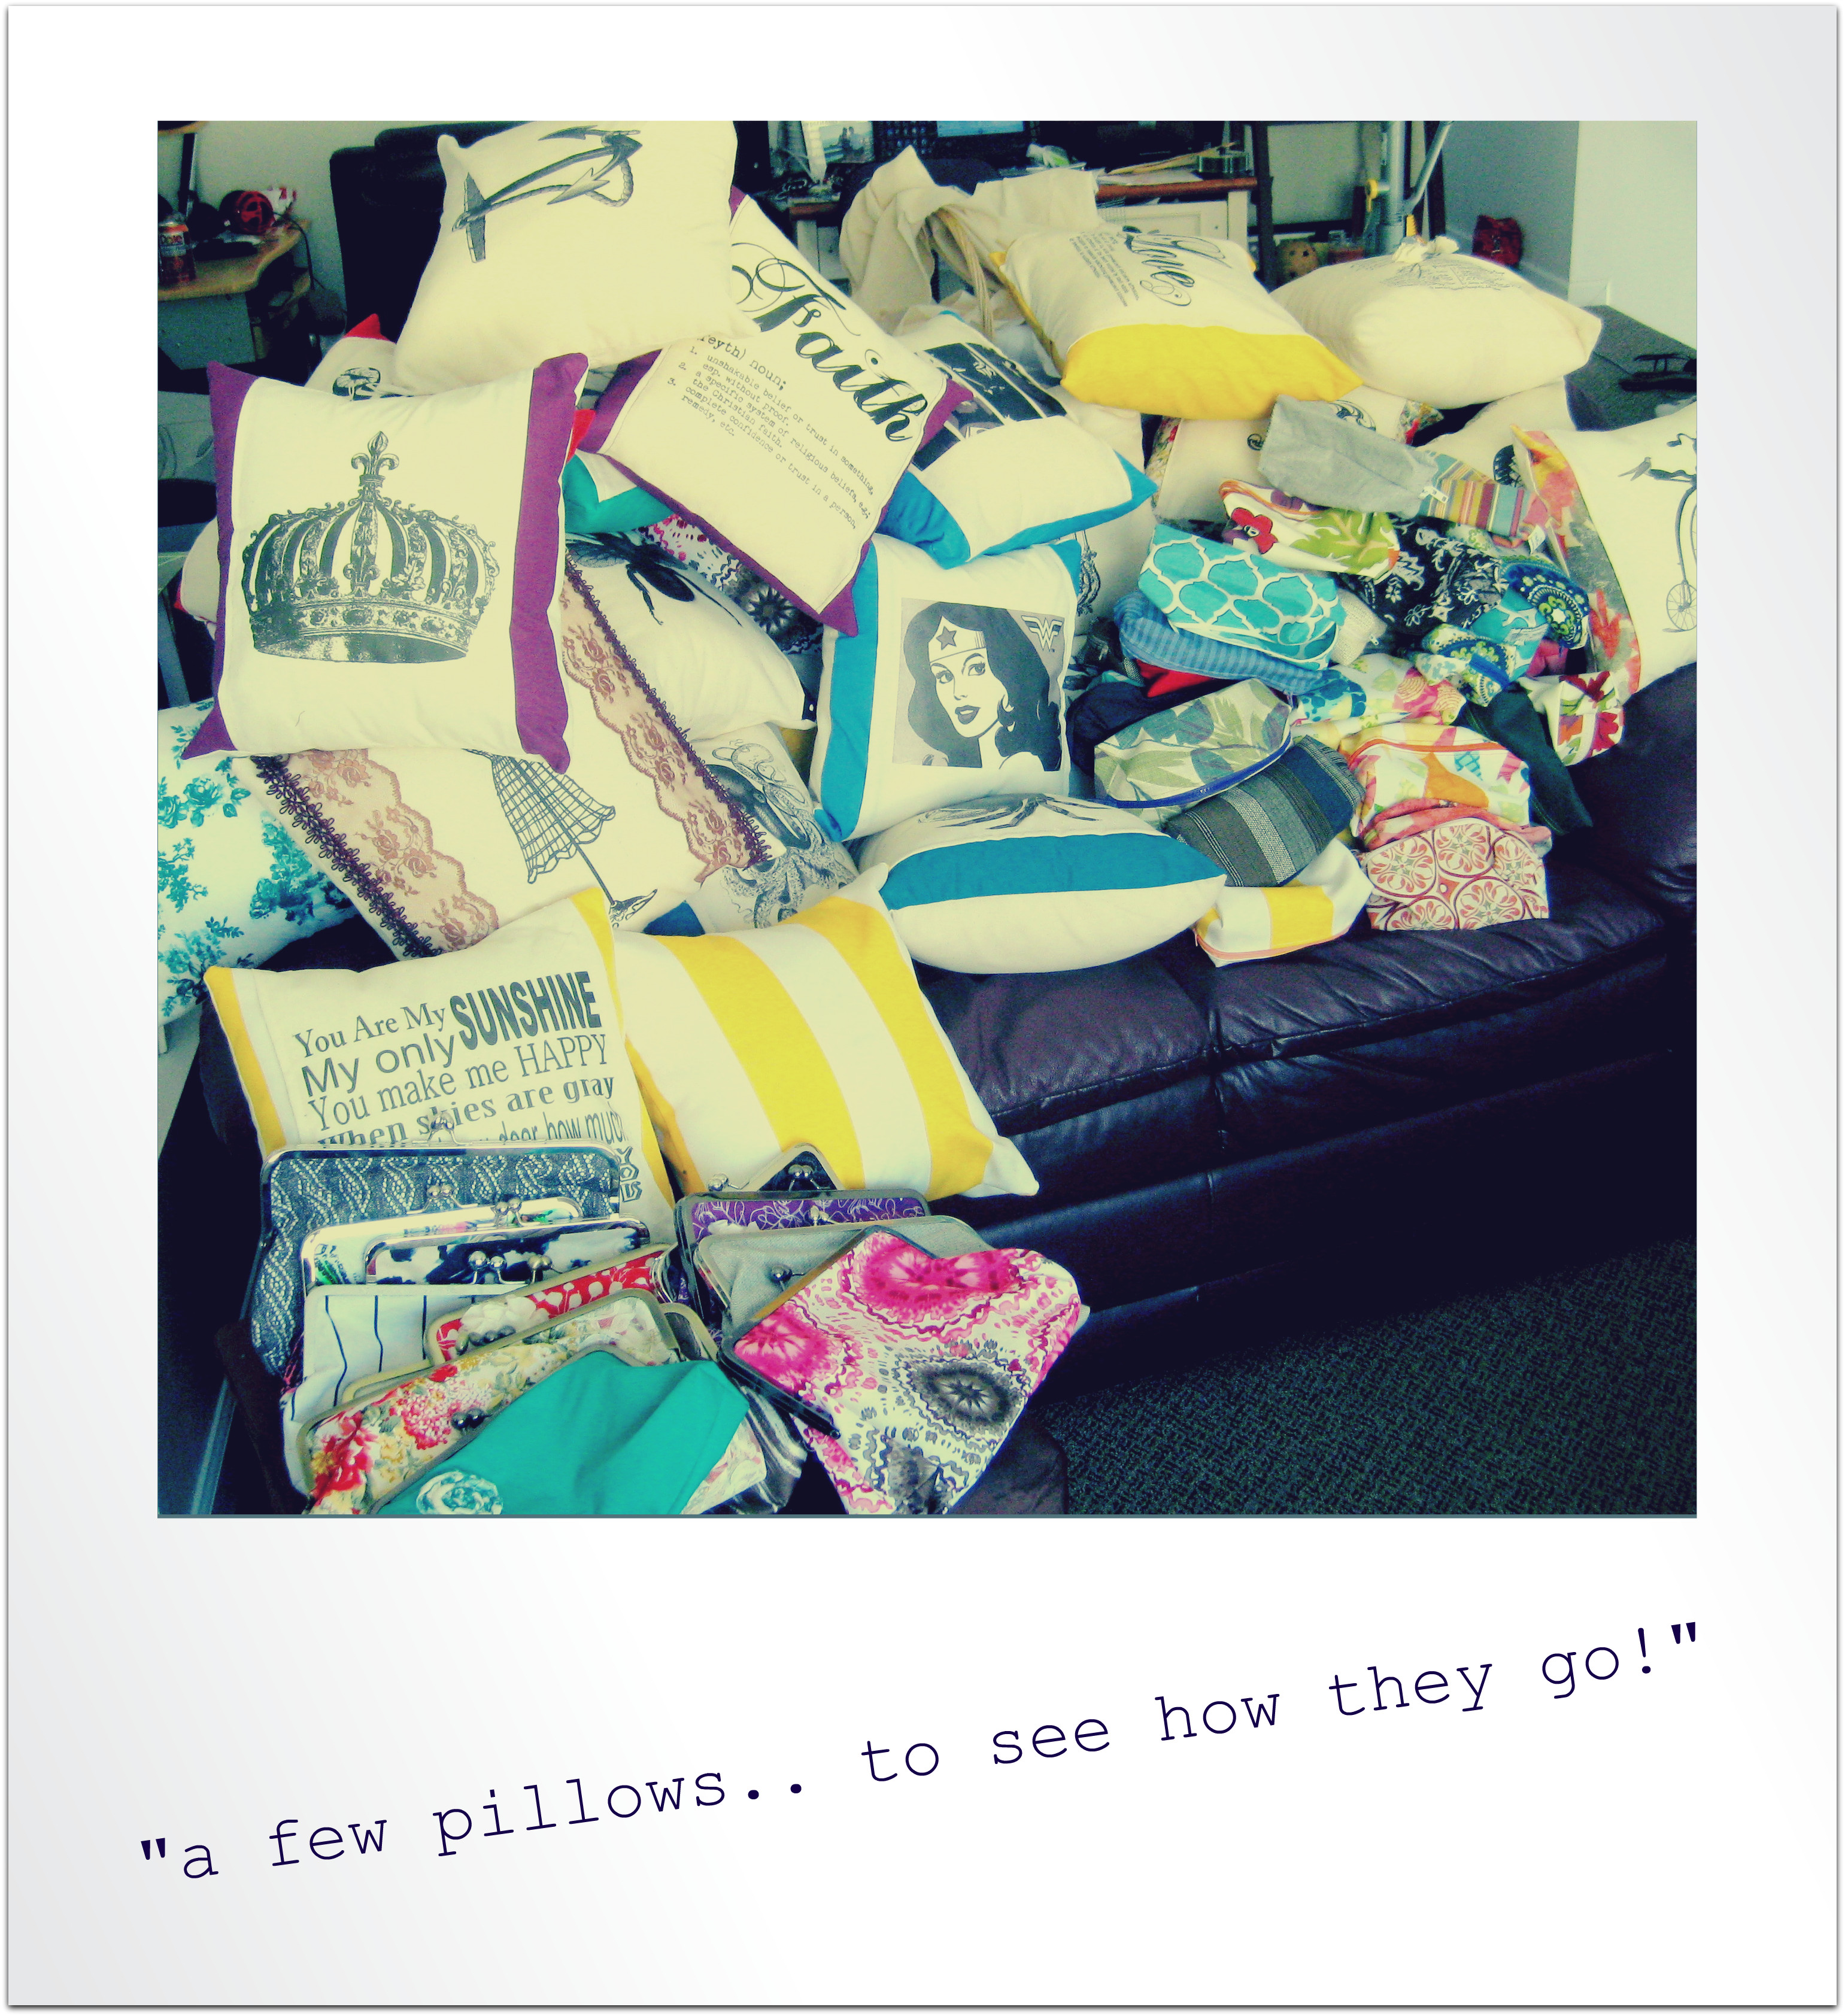
As you may or may not know I run an etsy shop (www.ellebeetree.etsy.com) and have gone though a lot of ups and even more downs when it comes to taking pictures of my products. For those of you who buy or sell (or browse) on etsy I think it’s fairly safe to say that you’re drawn to pictures that look professional.
I wanted to share a little bit of my photography journey with you and most importantly show you an easy way to beef up your own photos.
When someone takes the plunge into selling items online (especially if they are their own handcrafted bits of wonderful) you think…
OKAY! Here goes! I’ve seen a lot of photos on a white back ground soooo… White Card Stock- Check! Camera- Check! Product- Check! The Lights are on… Check! AND GO TIME.
Well… My friends- This how your photo is going to turn out:

Wait a second.. !? What?! Everything I needed I had.
Nope. Let me tell you. Pictures like this won’t get your pictures looked at and they won’t get your items sold.
Your eye sees light differently then a camera does. So even though your eyes see nice white and bright- your camera sees yellow.. yellow… yellow.
You so some research and this is what you come up with next.
Natural light. Turn off the light switch and move that cardstock and product in from of a window with some good natural light pouring through (Not direct light either..)…
This is what you look like.. and this how your picture turns out:

Better! Butttt, not quite what you had in mind.
Why are those shadows there! Why, not matter what angle you’re working form shadows seem to be there.
Because solid objects make shadows when light is shining directly at them.
This is where I plateaued for awhile within my shop and it’s photos. Infact… if you look real hard- you can probably see the photos that suffer from the dreaded shadow.
After doing a little more research I found out about a light box.
There are a ton of diy websites and blogs that show you how to make one so I won’t get into that here- but I will tell you I used a clear rubbermaid storage container.. tissue paper and three 40watt lamps (and of course the needed white cardstock). A tripod helps for stability.
This is what you look like using a light box and this is how your pictures turn out…
(you can use it with the lights on or off, depending on the look that you’re going for with your photos…)

JACKPOT!
That.. in my opinion is the money shot! Obviously needs a little bit of editing (for my site I use picasa.. It’s easy to use).
By surrounding your image by light you’re eliminating shadows.
Here are a few facts:
You can’t just use any old light bulbs. Trust me.
Here are the light bulbs gone through before finding the right ones- which are pictured on the right:

Philips Daylight bulbs. These give off the most “natural light”…
As you may or may not be able to tell my camera is old. Like- really old.
I’ve been looking at buying a new one- HOWEVER, with the use of the lighbtbox I think I can get a few more photoshoots out of this one.
Always keep your camera on a macro setting for this type of photography- it will pick up all sorts of things in the photo that are appealing to look at!
Quick Recap.. Three Pictures of one product- all with the same camera, all with the same prop, all with different lighting and at the same time of day…
.
The choice is clear.. 🙂
And to finish it off- this is the face behind the camera- a genuine view from the product being shot….!


